Website Images
Adding images to your website the correct way can make all the difference to:
- Your site’s speed and load time (ie performance)
- Your site’s performance in searches (SEO)
- Your customer’s experience
- Hosting costs
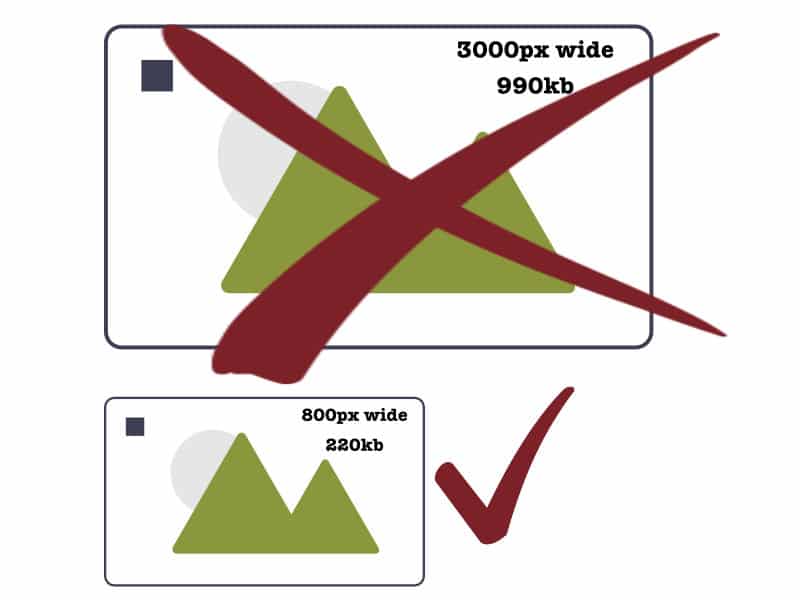
Large images (referring to the data size) slow your site down, affect SEO and fill up your server space. Images should ideally be under 200kb and never more than 600kb. Use an image compression tool like:
to reduce images sizes.
Where your image compression software has options, they should be:
- Resolution: 72dpi
- Colour: RGB
- Quality: 80% (indiscernible)
‘CMYK’ relates to printed documents. Selecting this for web images will distort your colours.
The physical dimensions of your images matter too. Physically larger images are larger in data size. The inner width of your website is around 1280px and columns of text are more like 800px wide. So uploading an image that is 3000px wide that will appear in a page of text is a waste of space.

Find out the optimal size image for your website from your web developer.
Use a tool like:
to resize your images.
You may need larger images for particular sections of your website. This is common for full-width heading images, or slider images.
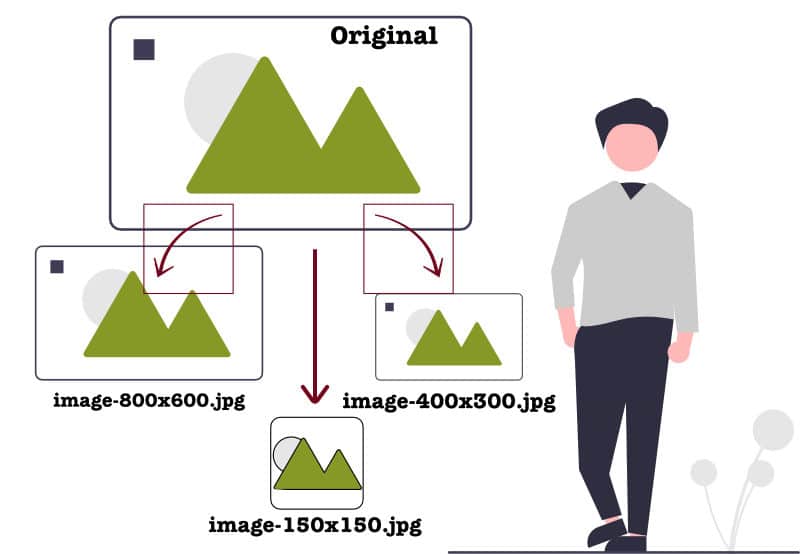
WordPress resizes your uploaded images depending on your how your theme.
An example would be:
sample-image.jpg becomes
- sample-image-150×150.jpg
- sample-image-300×400.jpg
- sample-image-800×600.jpg

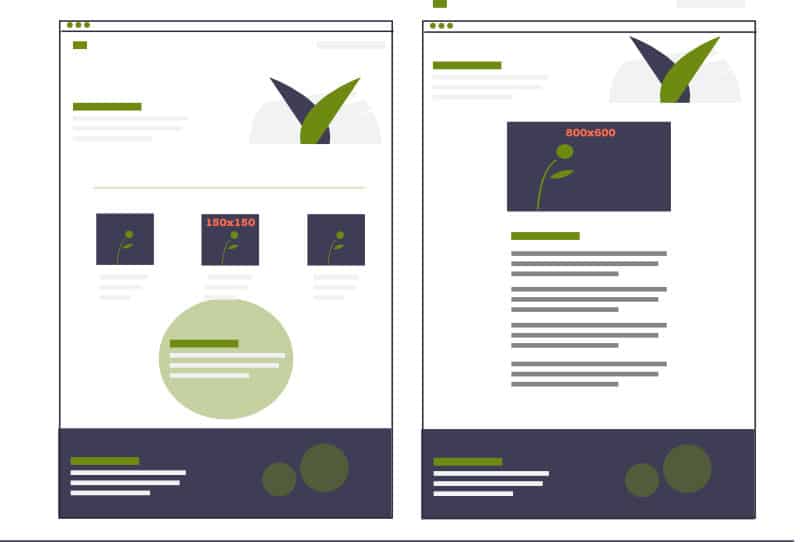
sample-image-150×150.jpg would be cropped. It might appear in the featured news articles on the front page. sample-image-800×600.jpg would appear on the single news article page as a wider image.

Serving images larger than required is not desirable. This requires excess data which takes more time to load. The longer the page takes to load, the more likely the user will abandon the site altogether. Google factors page load time into their algorithms. So faster loading sites are more likely to appear first in searches (although that is by far not the only indicator).
An exception with image sizes is retina screens. Retina screens show a higher density of pixels. Where stand-out, super crisp images are a priority, find a balance between uploading images double the size required whilst still keeping the file size under 200 – 300kb.
File Types
Images should generally be .jpgs.
Use .png files where images need a transparent background.
Naming Images
Image file names should be short, lowercase and separate words with hyphens eg. blue-house.jpg. The image name should be representative of the image. The name may contribute to the image (or page featuring the image) listing in web searches eg. kubota-z125ebr-mower.jpg or green-salad-spinner.jpg or potted-hellebore.jpg.
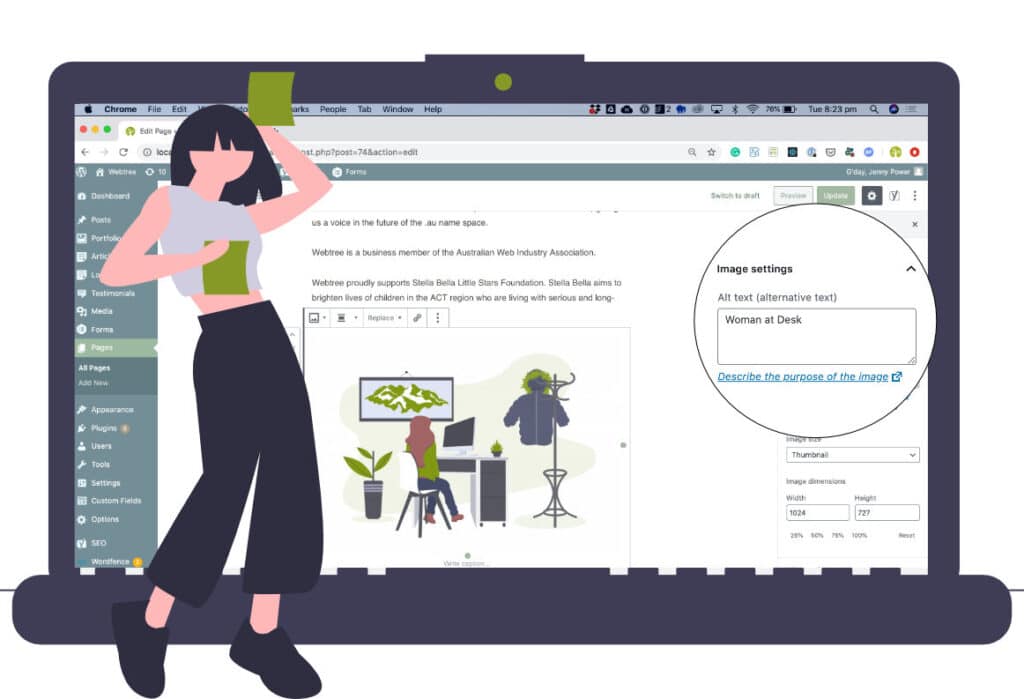
Ensure all images have alt text. Alt text conveys the content and purpose of images to the visually impaired.

Google crawlers (or bots) also use Alt text. Alt text should be a several-word description such as ‘Man with tools’ or ‘Smiling child’. Where it makes sense to do so, you can use words in context with the page eg. an article about ‘Repairs and Maintenance’ may feature an image with alt text of ‘Man with tools doing repairs and maintenance’. Don’t include keywords if they don’t make any sense. The purpose of the alt text is to add meaning to the page when the images aren’t present.
PDF Files
PDF files can be compressing using this tool from Adobe.